Monday, December 9, 2013

DIY christmas wreath


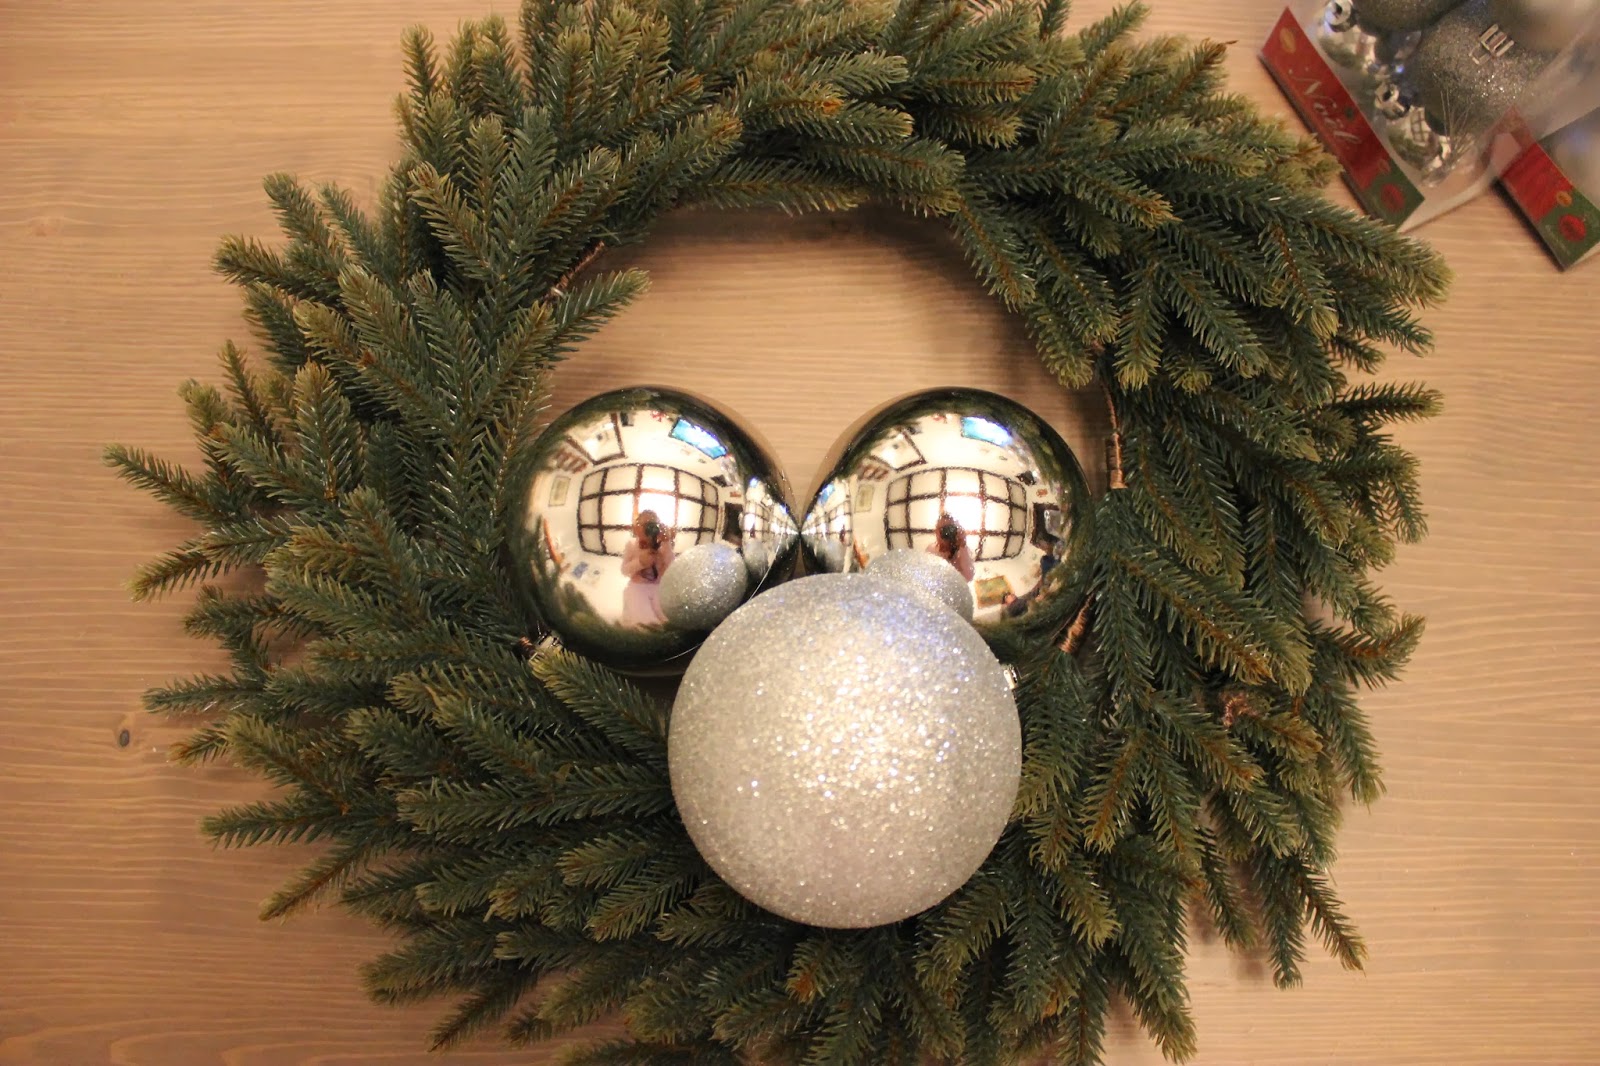
Having our own place with the holidays has been so much fun. I've loved getting to decorate and coming up with creative ways to add festive touches around the house. This DIY wreath took about 30 minutes to make, cost only about $20 and is such a lovely reminder of the holiday season when you come in through the back door.


{ Dollarama is a great spot to pick up decorative ornament balls on the cheap }


{ I started by anchoring the larger ornaments with string to the wreath's wire 'frame' }


{ Once I had the three large ornaments in place, I found it easier to add the other pieces with the wreath hanging. Add as much or as little as you'd like }


{ Finally, I glued in some scented pine cones that add a pretty, natural element. I have to say I love the simple look I ended up with. It's sometimes easy to get carried away adding bits and bobbles, but I think less is always more }


{ We had some left over ornaments that are now strung up in the kitchen that add some festive cheer to the measurements chart that I'm sure will come in handy when the holiday baking begins }


Sunday, December 8, 2013

have a happy sunday


I hope you have enjoyed your weekend thus far, and that you continue on to have a great Sunday. Our day is going to spent decorating our Christmas tree and going to the Christmas Market in the Distillery District - so a big day filled with holiday cheer ( and I couldn't be happier :)


{ And I don't know if D knows this, but I spend my week looking forward to our breakfasts at home together }


Thursday, December 5, 2013

well behaved party guest


With the onslaught of holiday parties quickly beginning, it's always important to keep up with your good manners. I mean, no one's really a big fan of that person who shows up late, empty handed and ends up getting drunk off the spiked eggnog.

Instead be a holiday-party rockstar - who's sure to be invited year after year. Show up with a festive gesture in hand, put your phone away, mingle and have some fun, and follow-up with a thank you the next day. We all know how much work goes into hosting, so tell your friends how much you appreciate them going to the effort of gathering everyone together.

I'm no seasoned party-goer, but all these tips seemed to make a whole lotta sense to me...

Brush up on your party etiquette HERE

Tuesday, December 3, 2013

one of a kind christmas show


If you're still looking for some unique, handmade gifts to give loved ones this Christmas, the One of a Kind Christmas Show is on at the Direct Energy Centre until December 8th. I spent a couple hours walking around with a friend and was so inspired by the beauty and creativity of all the artists. I came home with a few foodie gifts and a full stomach from all the delicious taste testers. 

(Tips if you end up going... Don't wear a heavy jacket, bring a bottle of water and bring cash!)


raclette


We welcomed friends to the neighborhood with our first Sunday supper this weekend. I had raclette for the first time when I visited Switzerland when I was 16 and was so pleasantly surprised when I got a raclette kit for my birthday this year! The flat top is great for grilling meats and veggies and each person gets one (or two) little dishes that fit underneath the grill top for melting cheese. Even with the decadent amounts of gruyere cheese, the meal felt quite light with the loads of fresh veg. A fun social meal - getting to catch up between melting your cheese and grilling your bread. I'm quite sure it won't go un-used for long.


Monday, December 2, 2013

DIY festive gift tags


One of the benefits of being so enthusiastic about Christmas is that I start with all things holidays as early as possible. One of my favorite parts of Christmas is spoiling all my family and friends - I find such genuine pleasure in the act of giving. I always send out Christmas cards with my loving sentiments but needed little gift tags to keep the presents straight! 
There's nothing complicated about these gift tags and if you have some time over the coming weeks before Christmas I think they give a sweet, homemade touch to any gift!


{ What you'll need: }
- holiday themed rubber stamps (Michaels had a great selection on sale for $1.50 each) 
-ink pad (color of choice)
-hole punch
- festive ribbon (keep the diameter of your hole punch in mind)
- marker (silver or gold)
- thick paper (I used a few pages of my watercolor paper)
- scissors or paper cutter
- to/from stamp (alternatively, you could print this onto the paper)


{ I started off by figuring out how many tags I would be able to fit on each sheet of paper. I took my time cutting them, then punched a hole for the ribbon in each one }


{ I decided on four different designs, mixing and matching the image with the text. I created a little cheat sheet to keep me on track. Then I got to stamping... }


{ I added in a silver detail at the bottom of each card, keeping it unique on each design }


{ The back of each tag was stamped with a To: & From: stamp that also has a line for a short little message }


{ Finally, I measured the length of ribbon needed for each tag and cut each piece, then strung them through the hole. I left the ends untied to allow me to tie them onto whatever gifts I have }


{ The end result were adorable, festive tags - perfect to keep the presents addressed under the tree! }


{ gift paper - Ikea; red twine - Ikea; present toppers - Dollarama }